

At times when I’m going for walks the aisles of home enhancement suppliers I get artistic strategies like these basket plant stands or these table leg candlesticks. Once a lot more it happened.
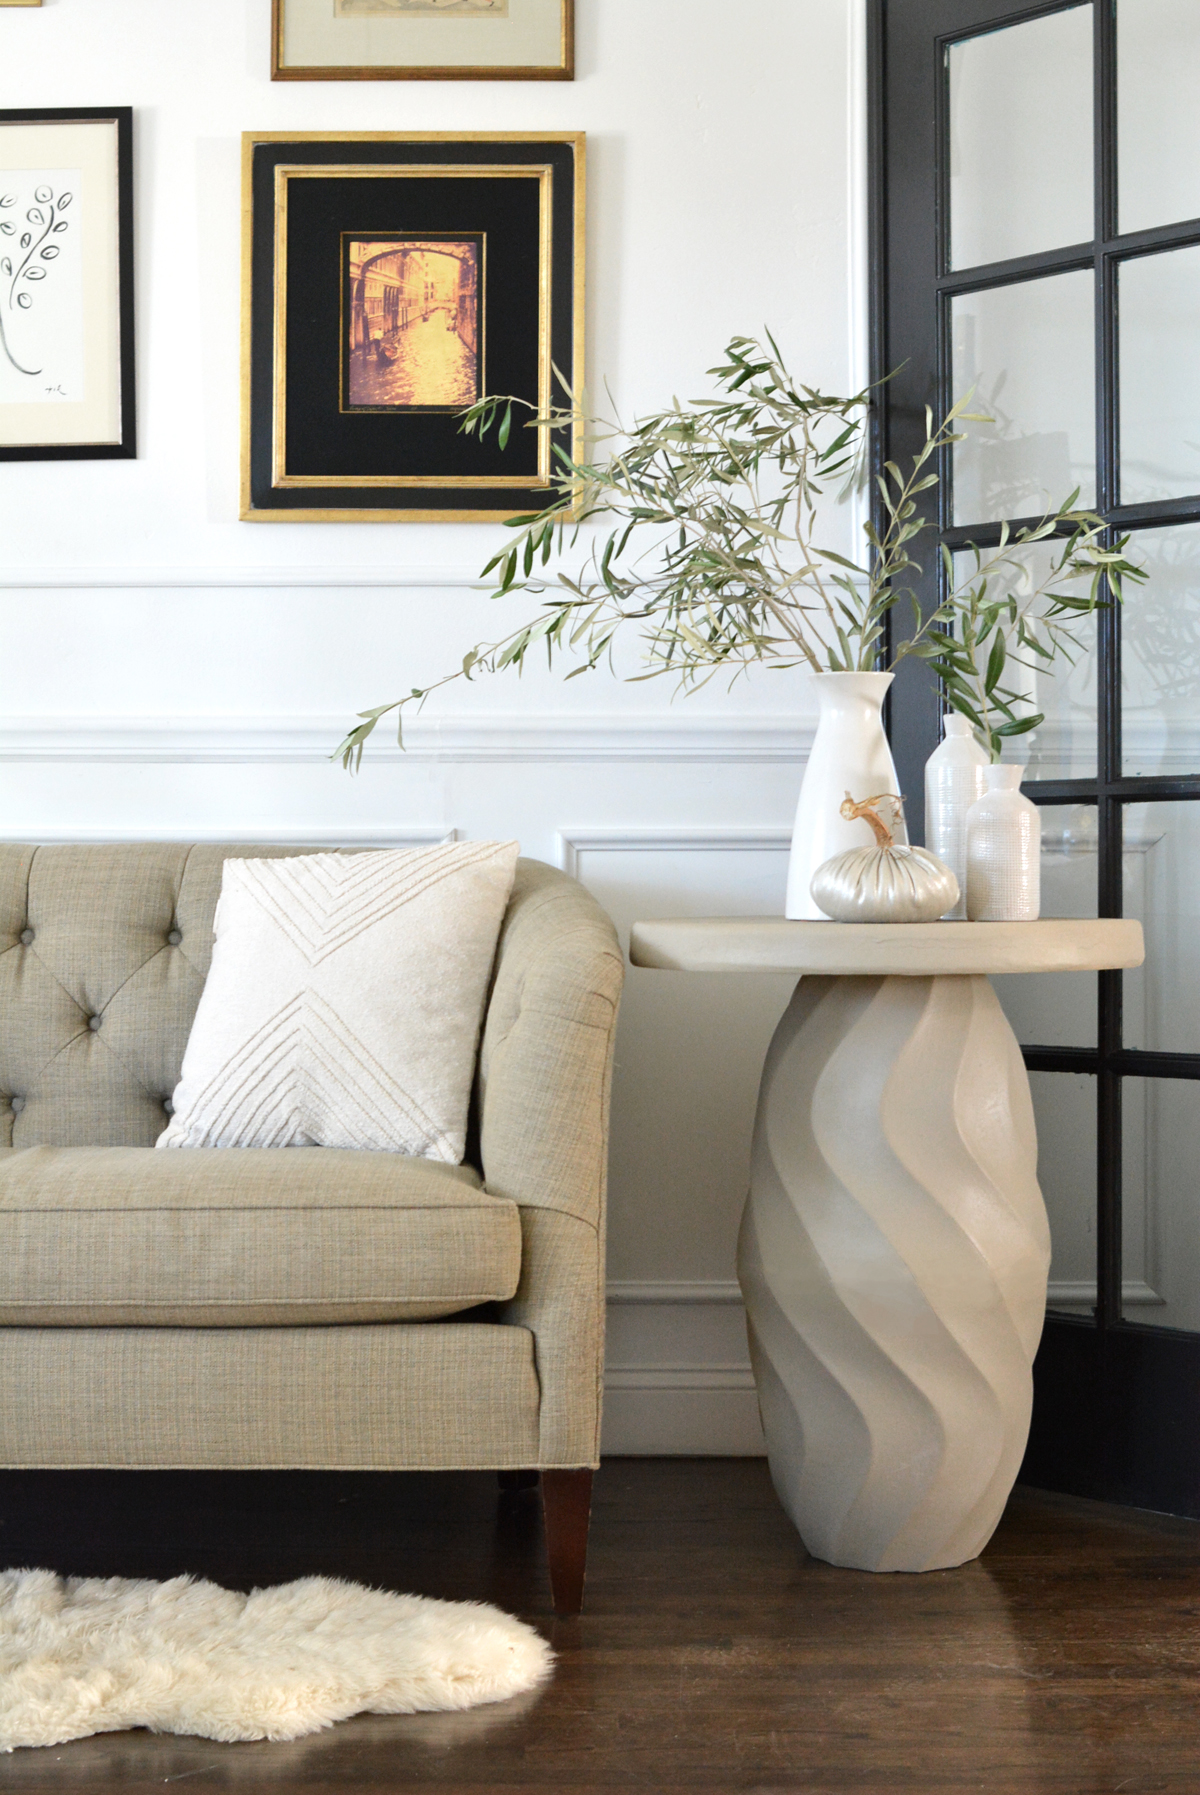
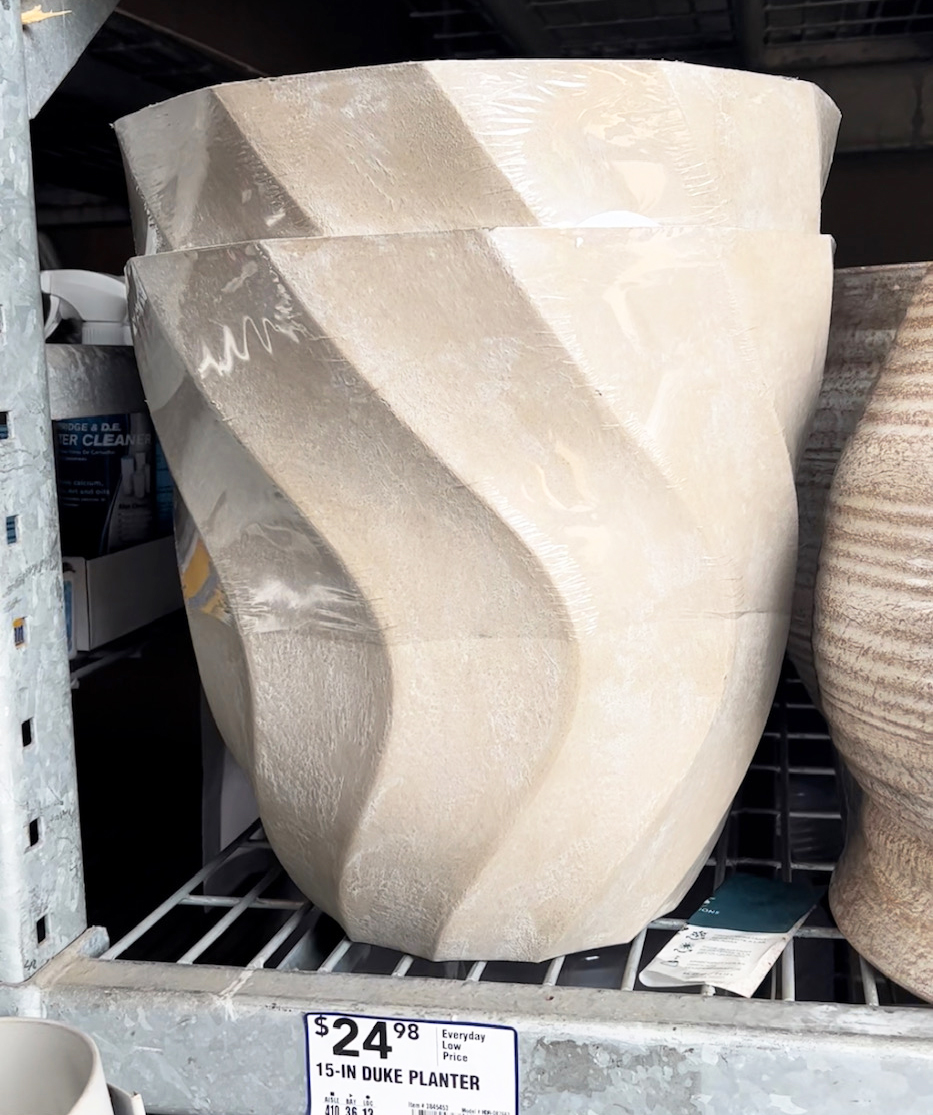
I was in the garden section and noticed some curved resin planters and believed if I put two alongside one another they’d type a awesome base for an accent table. It took plastic bonder and joint compound to unite them, and listed here is the final outcome:
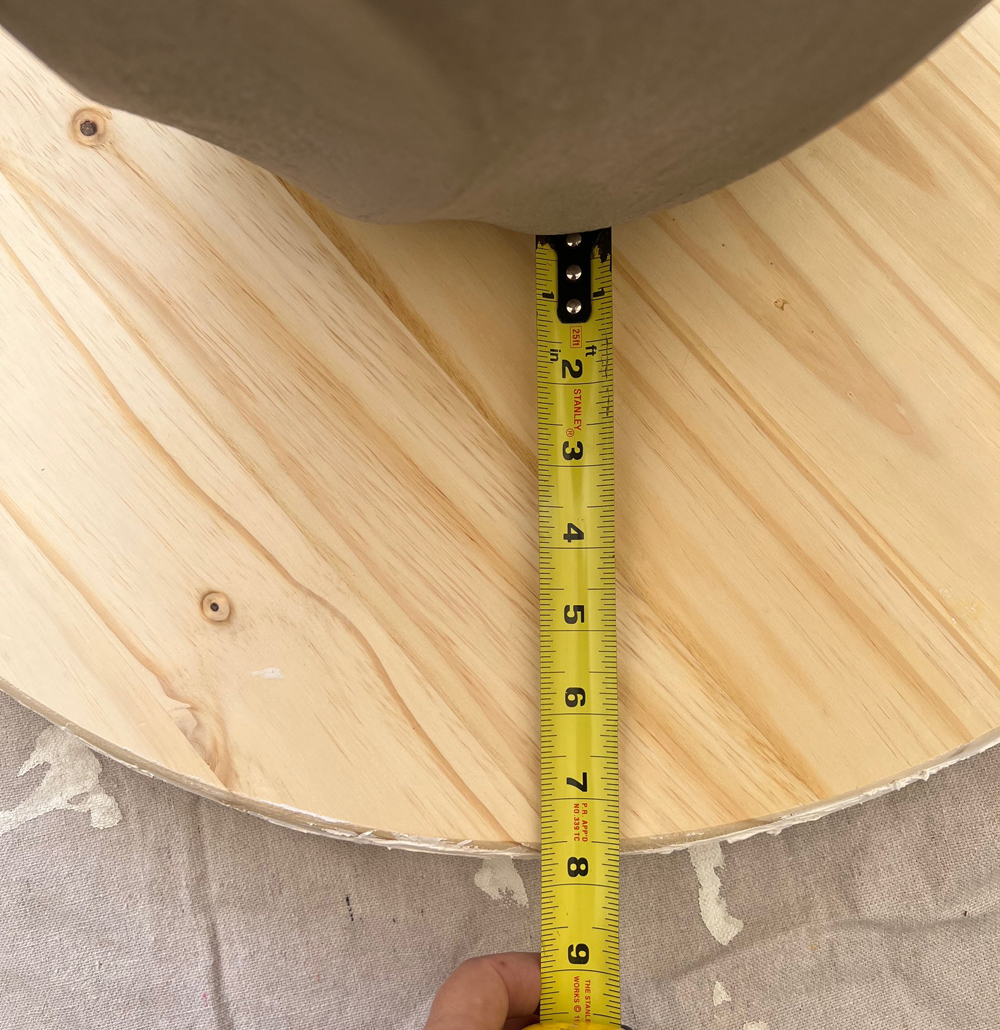
I acquired all my supplies at Lowe’s such as two 15” planter bases with the identical circumference on top rated (I utilized these ones). In addition, here’s what you will have to have to recreate: two 24” wood circles joint compound 2” plastic putty knife plastic bonder wood glue coarse sanding wedge Krylon river rock spray paint.
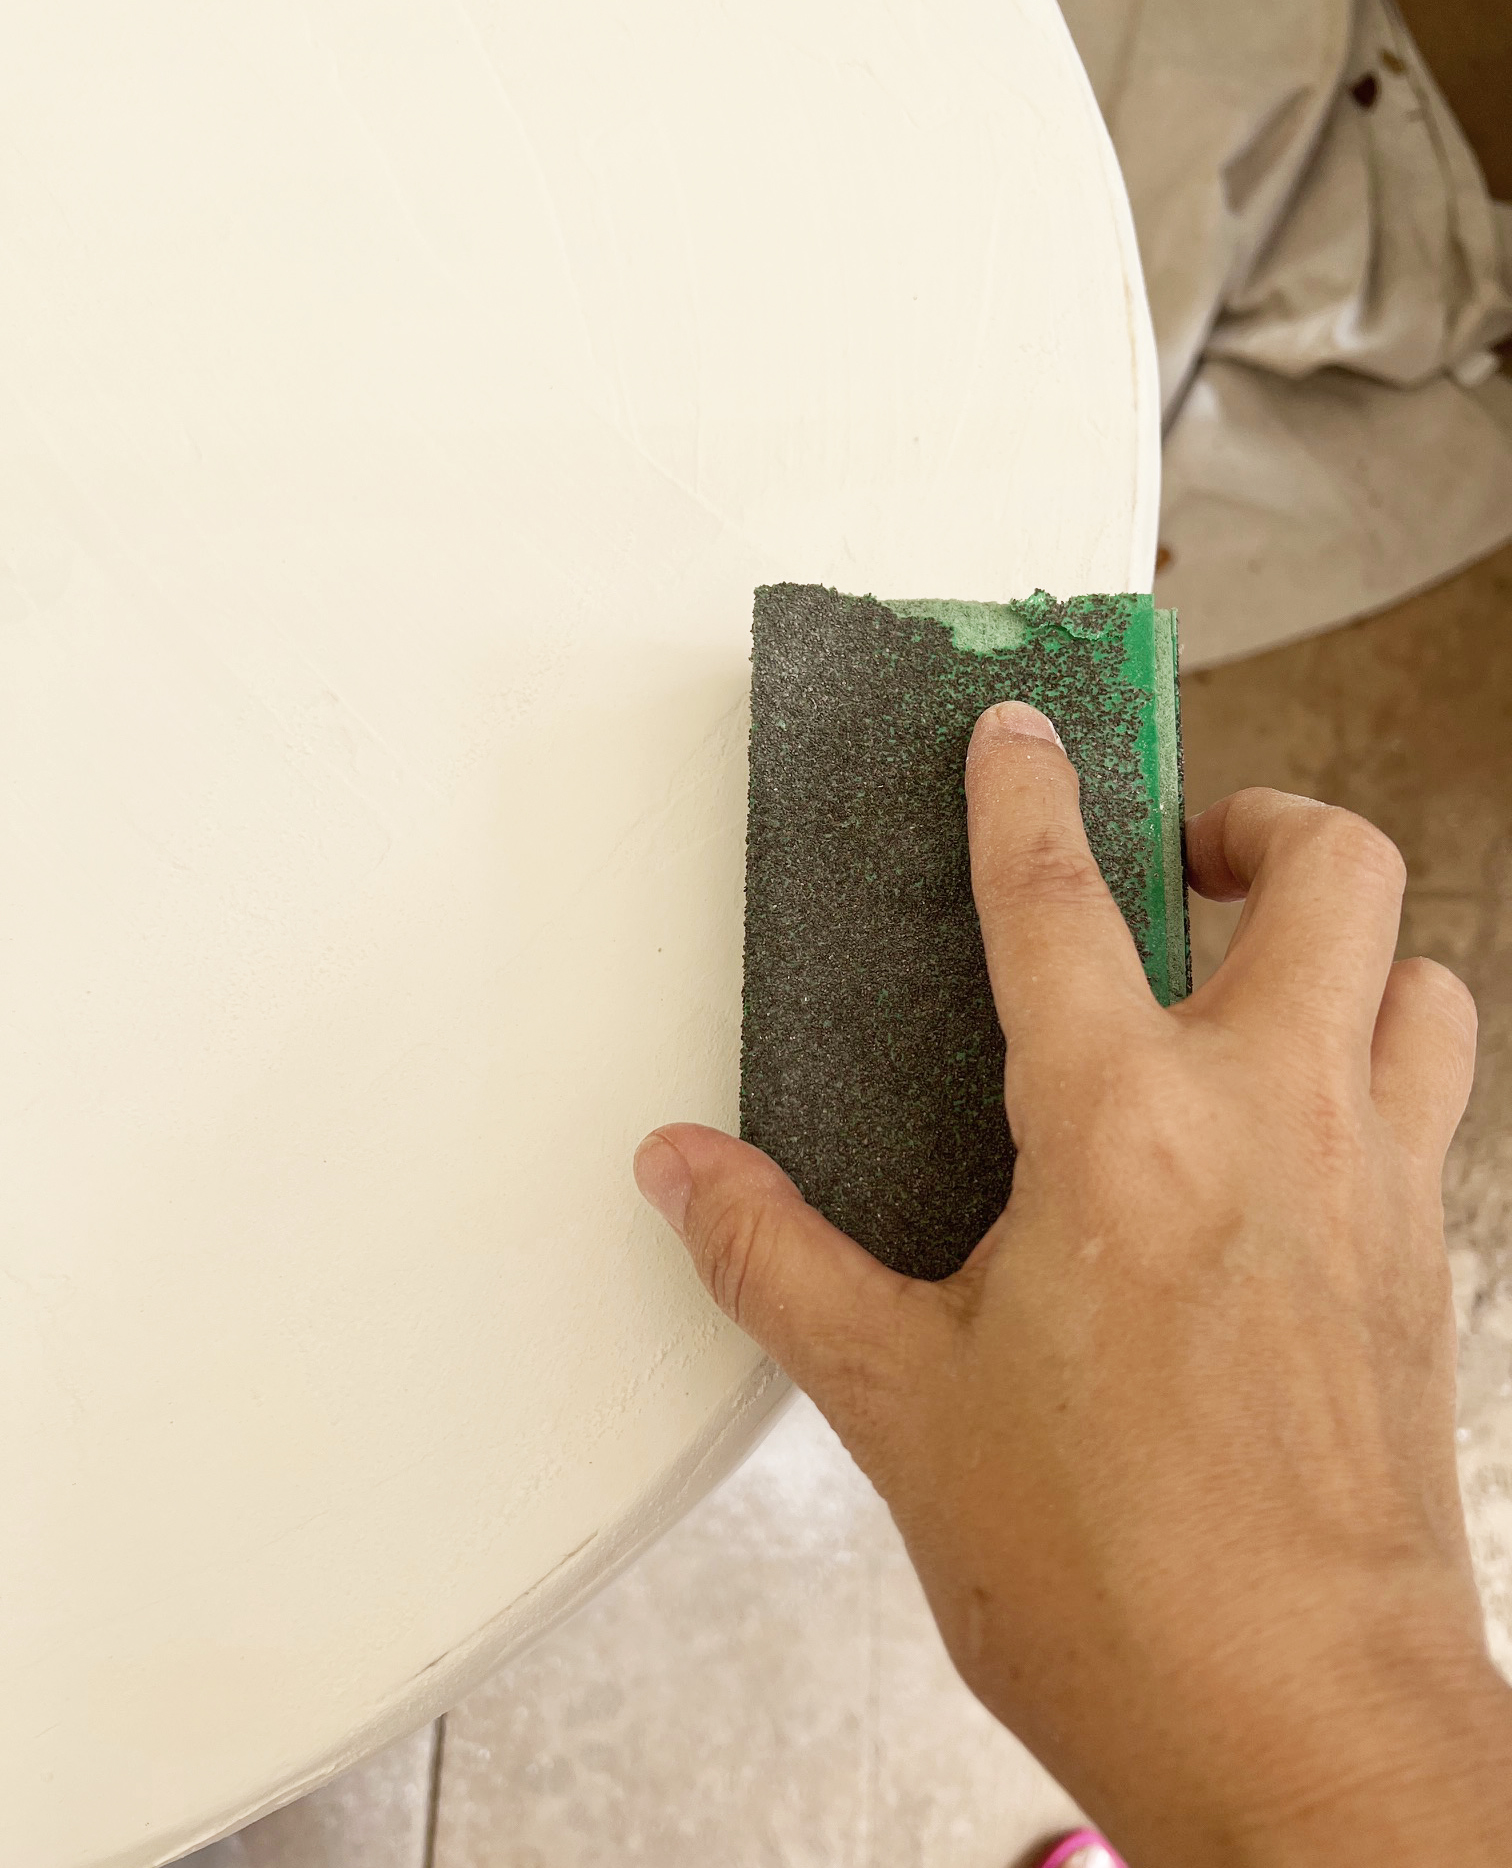
To make the major, first, glue the two 24” tops with wood glue and established weighty textbooks on prime so they stay put and bond collectively. Enable to dry about 2 hrs. Coat the wood circle sides and prime with two thin layers of joint compound. It is valuable to do this on a prop of some variety. Sand among coats and following 2nd coat dries sand once more to develop a mostly easy floor. I remaining mine imperfectly clean on best due to the fact I liked the texture.
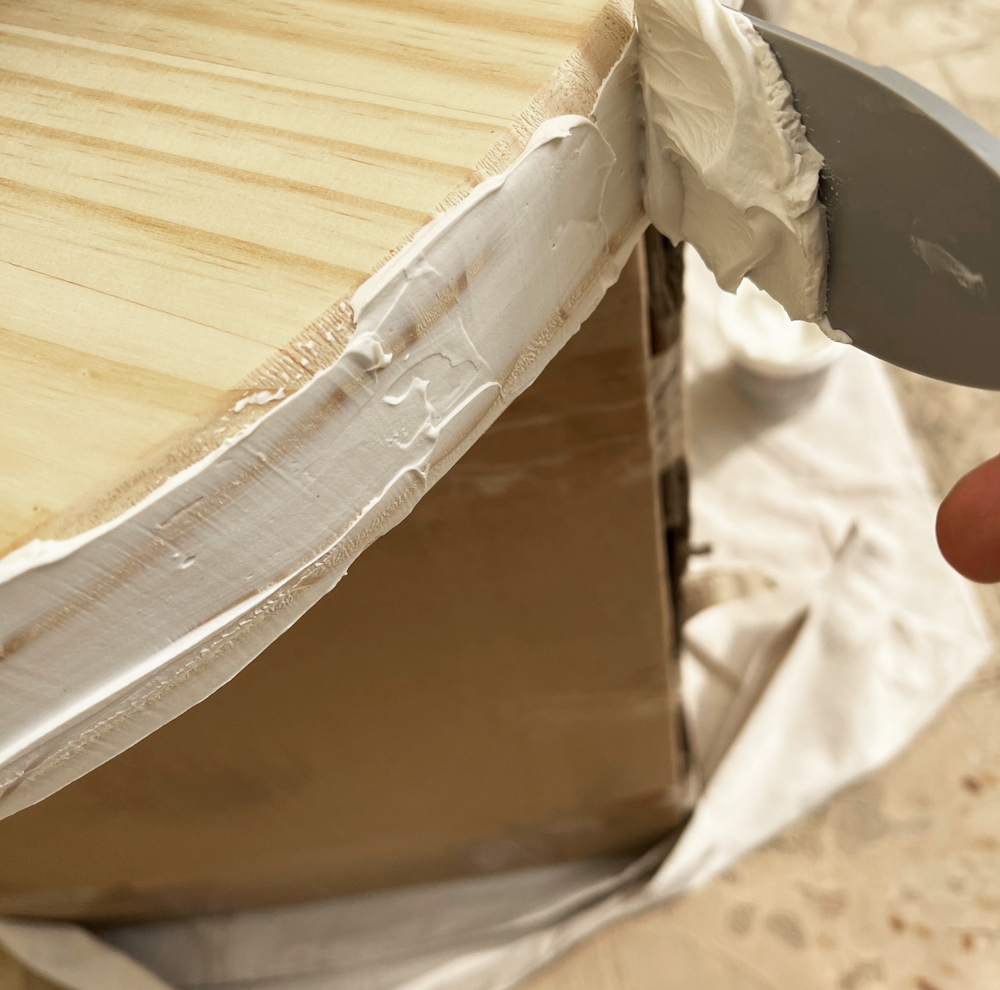
right before sanding:
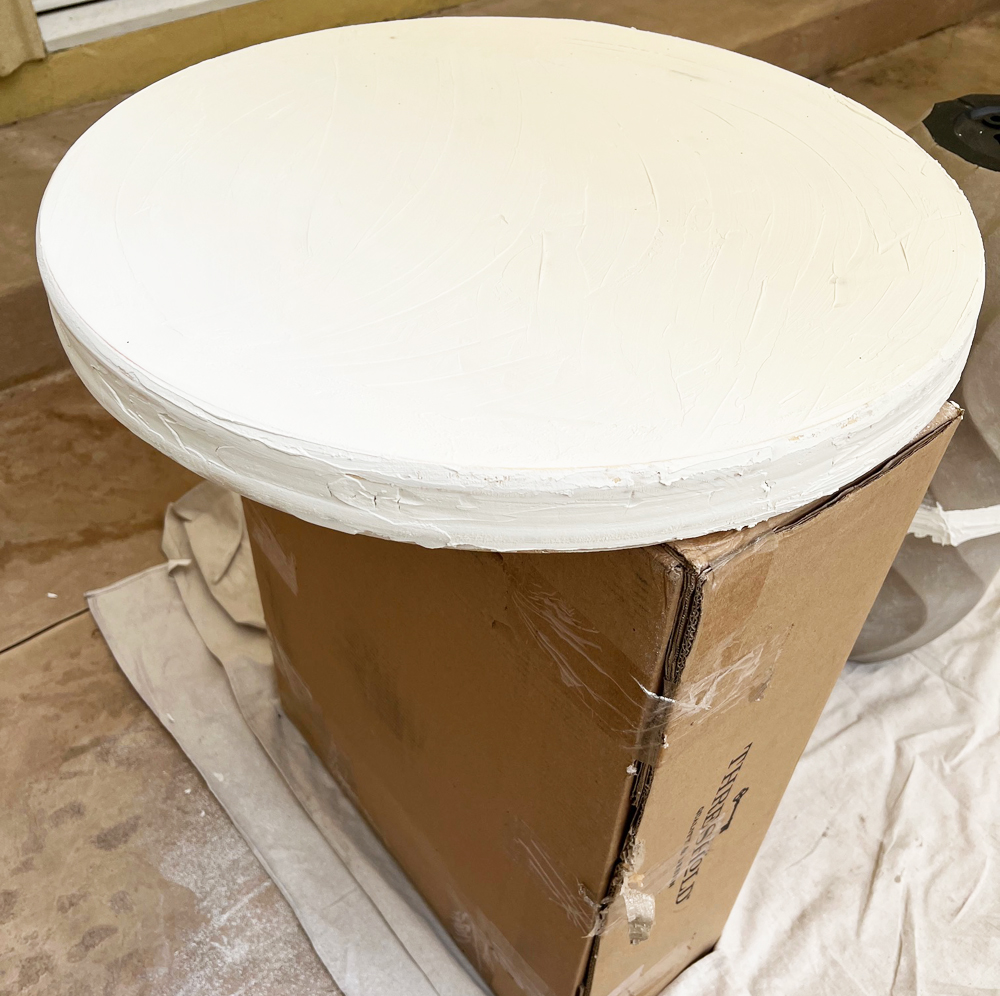
just after sanding:
When dry, mark the underside of the wood circles with the spot of the pedestal in the centre for attaching in the foreseeable future.
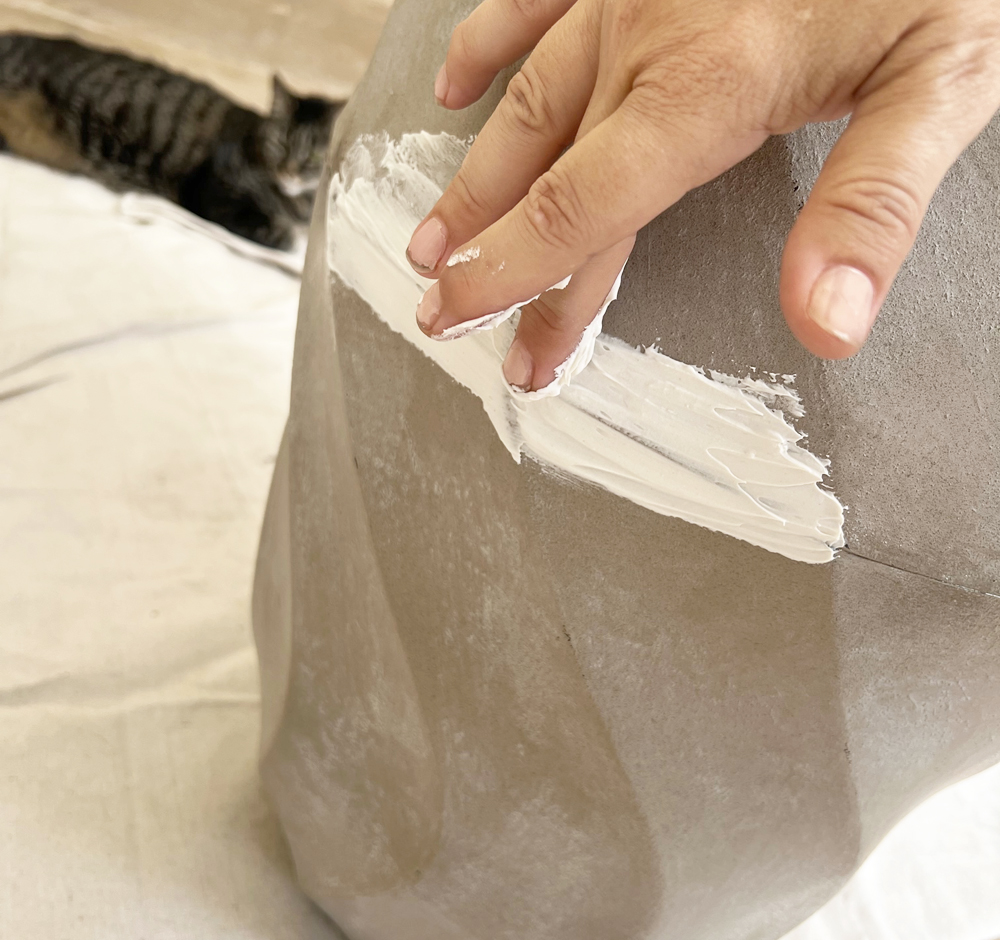
To connect the planters with each other use a bonding glue intended for plastic (see url over). Enable to dry a couple of hrs then use more joint compound to make any seams vanish. This took a number of apps, sanding concerning coats. It allows to spread the joint compound up further than the seam a pair of inches to accomplish a remaining clean glance.
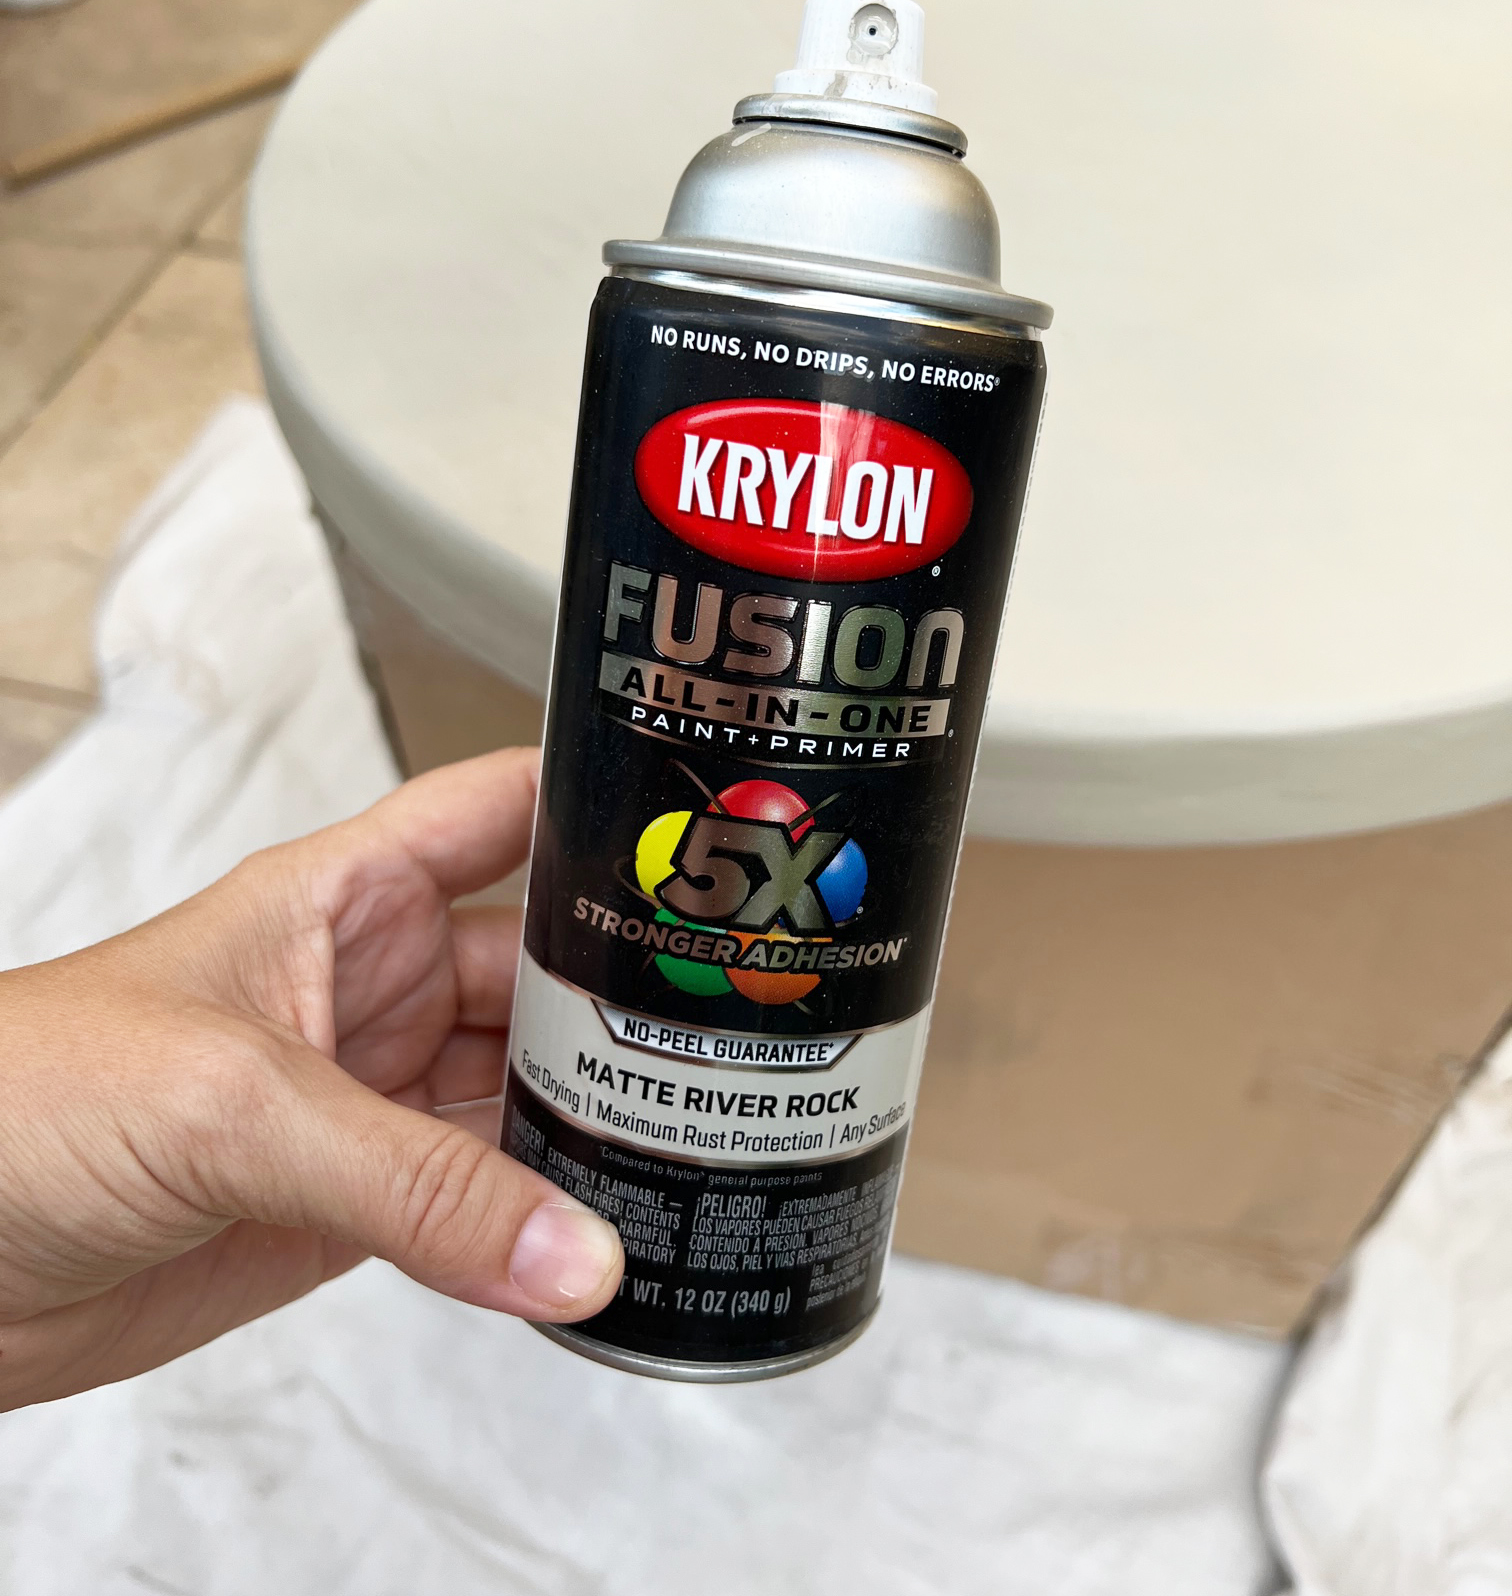
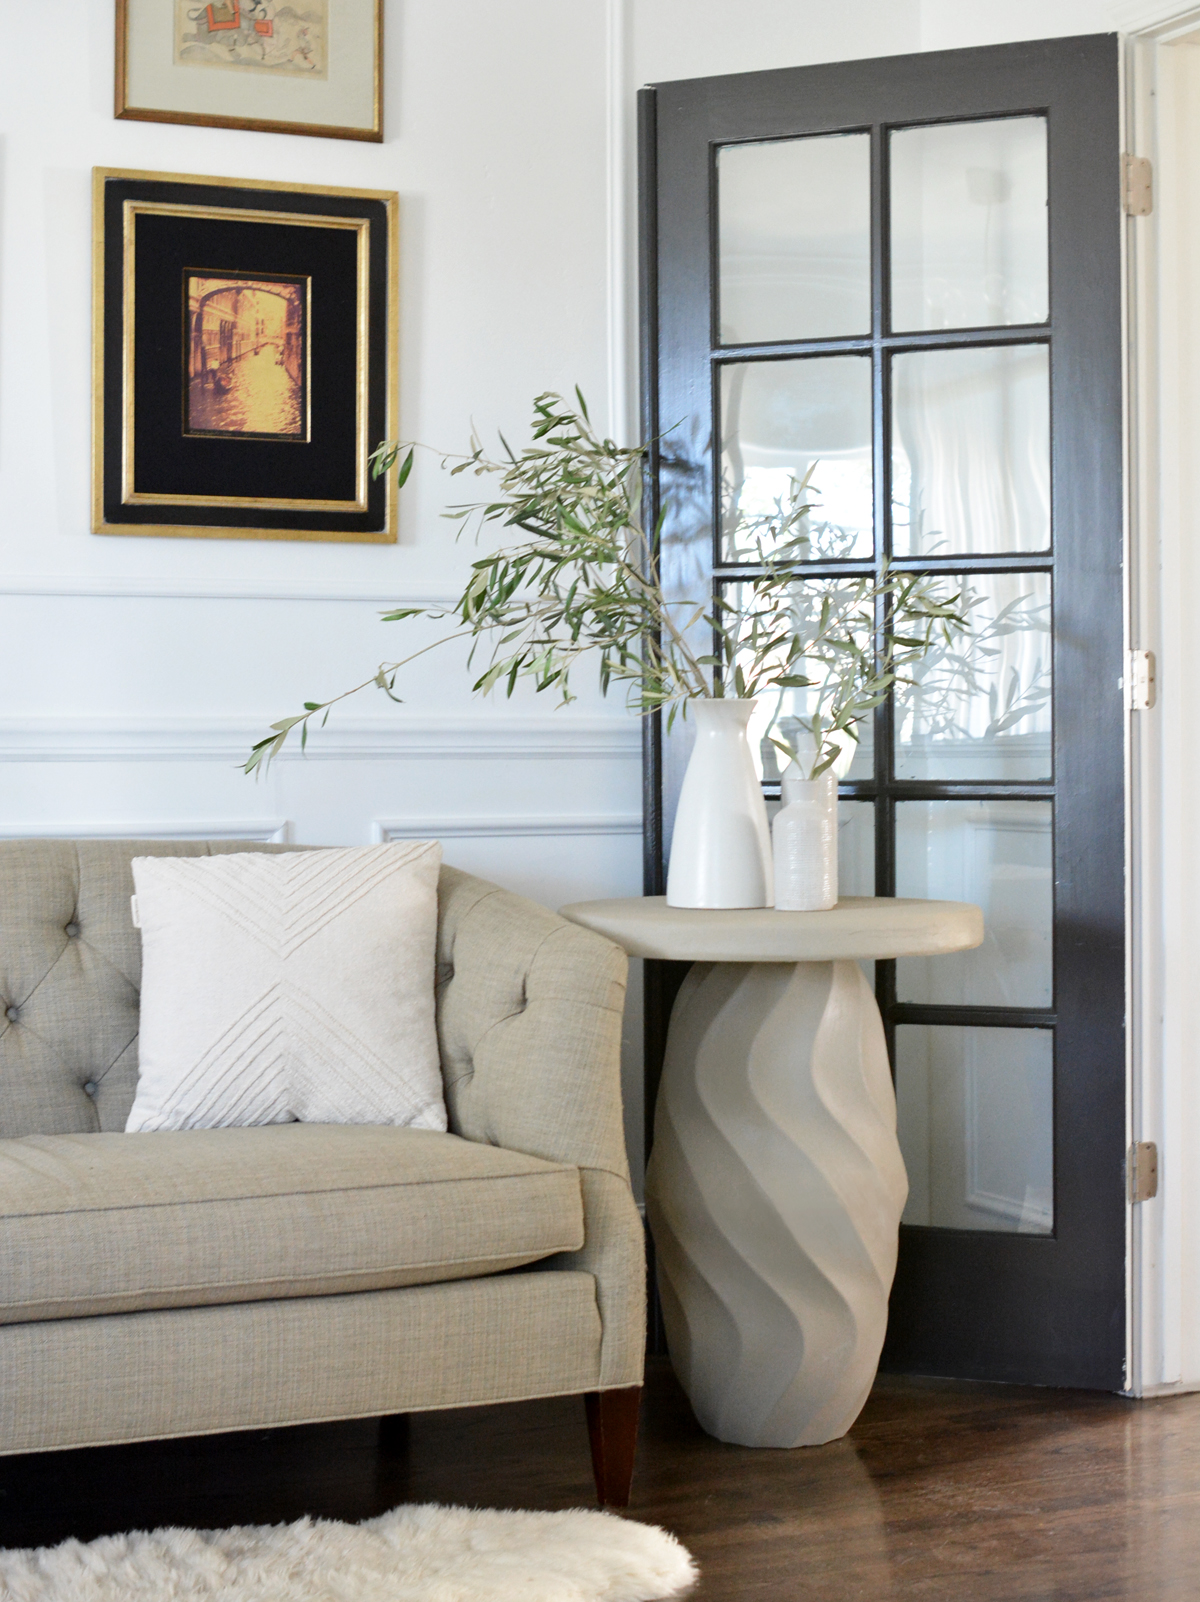
When the joint compound is sanded and clean, coat the major and pedestal with spray paint. I chose River Rock by Valspar to mimic a stone hue.
Use further plastic bonding glue to bond and unite the top to the pedestal. Allow for to dry, then use for show!
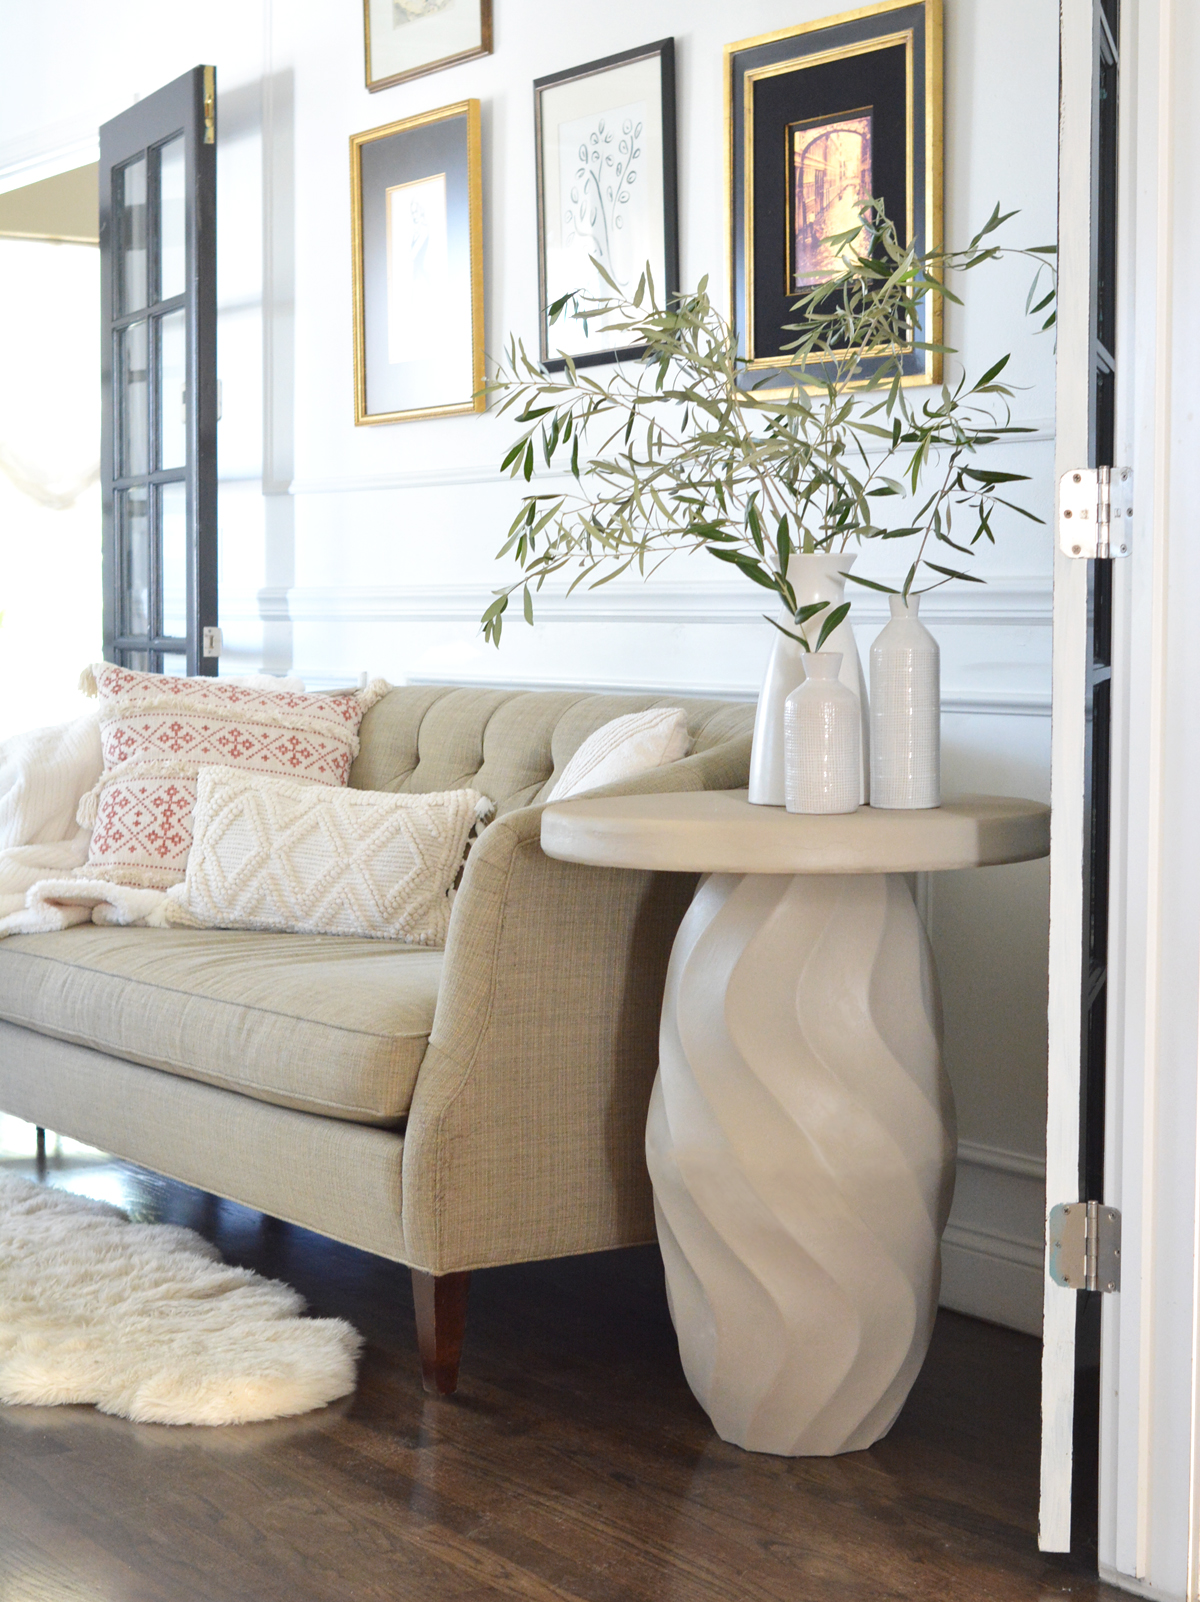
I’ll article a video clip on Instagram Reels to clearly show the procedure. I like how the table turned out, the pedestal is undoubtedly exceptional! I’m encouraged to use my remaining joint compound to produce texture on upcoming ornamental jobs.:)